
Chicken Tenders: Baked, Fried and Air Fried Recipes for Cooking Chicken Tenders
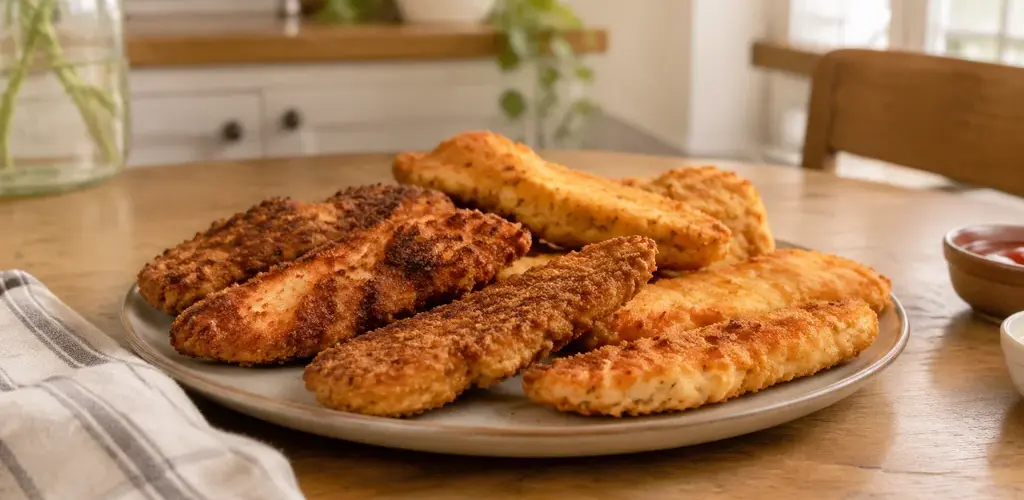
The pieces are thin and uneven, so the outside can brown before the inside is fully cooked. If you want a lighter plate alongside them, my healthy lunch recipes for weight loss pair well with a smaller portion of tenders.
Tenders themselves are simple. They are strips of breast meat, either cut from a whole breast or bought ready-trimmed. Cutting your own from a large breast gives you control over thickness, which matters more than any single recipe detail. Aim for strips of even width so the tail does not finish long before the centre. If a strip is noticeably thicker at one end, press it flat with the side of a knife or give it a few gentle whacks with a meat mallet between two sheets of parchment. Even thickness means even cooking, and even cooking means the whole batch comes out at the same moment, with no stragglers to rescue one at a time.
Brining is optional but worth ten minutes if you have them. A quick soak in salted Buttermilk, or a simple solution of salt and water, seasons the meat through and keeps it juicy after the high heat of frying or air frying. Pat the strips dry afterward so the flour clings. Buttermilk does double duty here, because its slight acidity tenderises the meat while the thickness helps the crumbs adhere.
Contents
Baked Chicken Tenders in the Oven
Set up three shallow dishes. Fill them with flour seasoned with salt and pepper, beaten egg, and dry breadcrumbs. Pat the tenders dry first, because surface moisture can make the coating steam and lose its crispness.
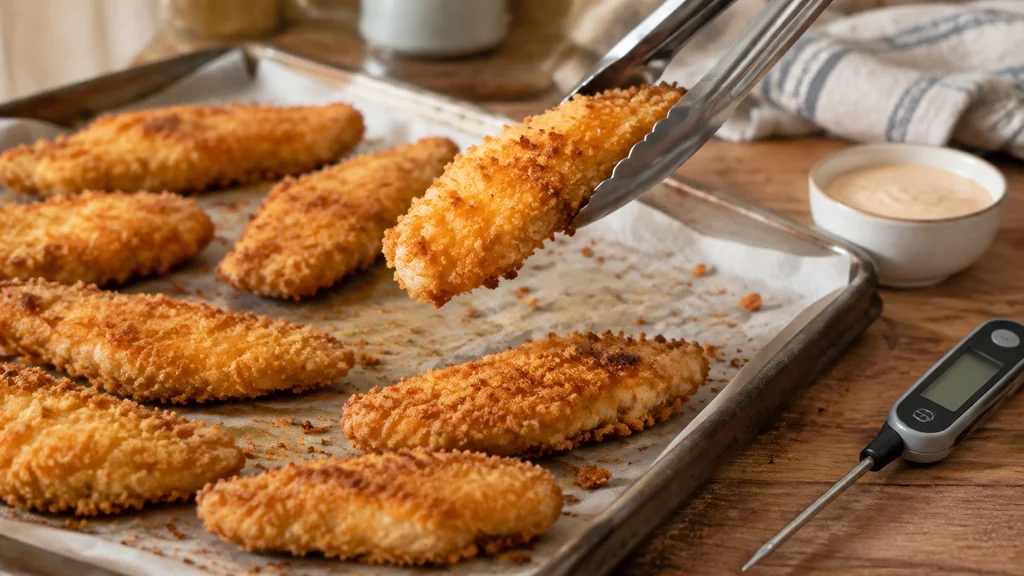
A wire rack set inside a sheet pan lifts the meat off the pan so hot air circulates underneath and helps the bottom crust stay crisp. Without a rack, flip each tender once at the halfway point.
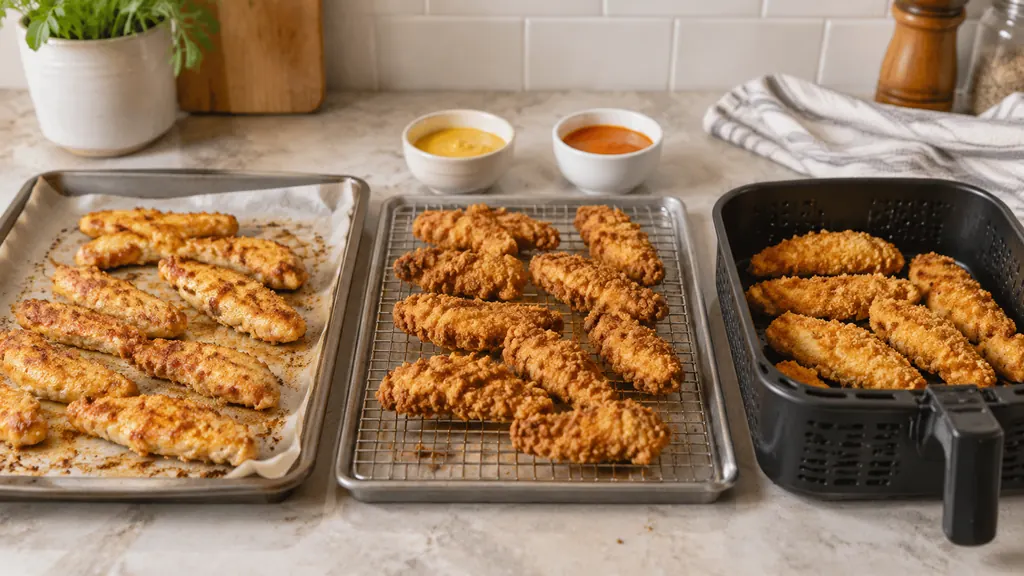
Scale those amounts to your own tray.
For the crumb, plain dry breadcrumbs give a tighter, more even crust, while Panko catches more air and shatters when you bite into it. Crushed cornflakes land somewhere between the two and brown faster, so watch the tail ends. Whichever crumb you choose, press it on firmly with your palm after the egg wash. A coating that was merely sprinkled on will lift in patches as the steam escapes during baking.
Baking time depends on thickness more than anything else. Thin, evenly cut strips in a hot oven are usually done in fifteen to twenty minutes, while thicker pieces can need closer to twenty-five. Start checking at the early end with a thermometer, because guessing by colour can leave you with a dark crust and a raw centre. Let the tenders rest for three or four minutes on the rack after they come out. The crust firms up as it cools slightly, and the coating stays attached through the first bite.
Oven temperature matters more than most people expect. A hot oven sets the crust quickly, but the thin tail of a tender can scorch. Keep batches spaced apart, never crowd the pan, and rotate the tray once if your oven runs hot at the back.
- Pat the tenders dry and season the meat itself, not just the crumbs.
- Use the flour, egg and crumb sequence, and press the coating on.
- Bake on a rack or flip once, and check the thickest tender with a thermometer.
Fried Chicken Tenders in a Skillet or Dutch Oven
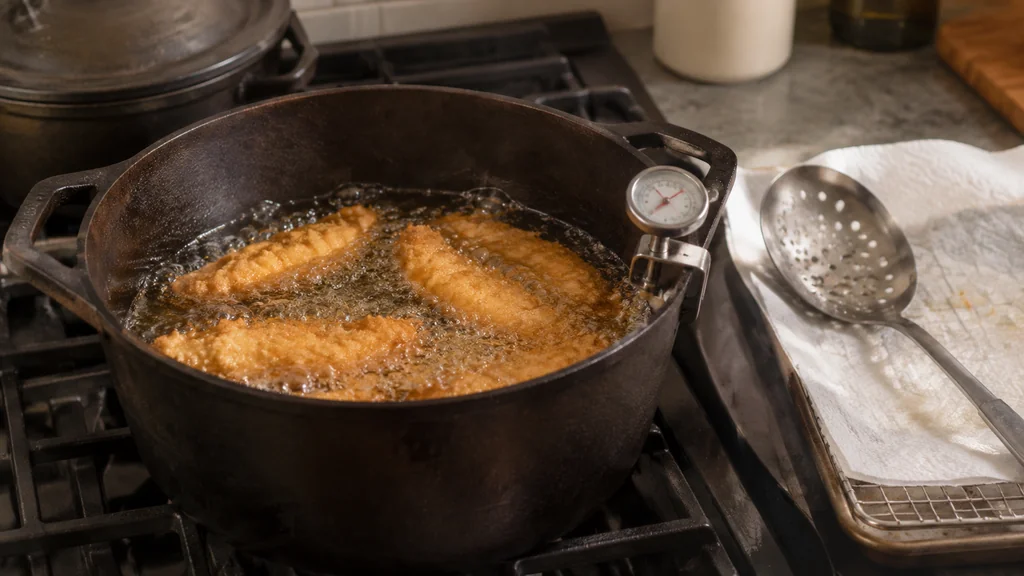
Use a heavy pot with high sides and fill it no more than a third full. Heat the oil and fry in small batches to maintain temperature. A clip-on thermometer helps monitor the heat, though observing how quickly a bread cube browns can serve as a rough guide.
Safety is paramount. Never leave the pot unattended. Keep a lid and baking soda nearby in case of flare-ups, and fry on a back burner away from children. A lid can smother an oil fire, and water should never go on burning oil because it makes the oil splatter. Strain and discard used oil once it is no longer suitable for cooking.
Drain finished tenders on a rack over paper towels to preserve crispness. If frying multiple batches, keep cooked tenders warm in a 250°F oven while the rest finish.
Choose an oil with a neutral flavour and a high smoke point. Use enough oil that the tenders float freely, at least an inch and a half in a skillet, and give each piece room so the temperature does not collapse when the batch goes in.
The oil temperature tells you everything. Too cool and the breading drinks oil and turns heavy. Too hot and the crust darkens while the centre lags behind. Fry a few pieces at a time, turn them when the underside is deep gold, and pull them as soon as both sides match. The whole fry for a batch of thin tenders usually runs four to six minutes. Let the oil climb back to temperature between batches, which takes a couple of minutes, and skim any stray crumbs from the pot as you go, because burnt crumbs floating in the oil speckle every later batch with dark spots.
Air Fryer Chicken Tenders
Breaded chicken tenders are air fried at 400°F. Plan on 7–10 minutes, flipped once halfway through cooking. That short window is why you should stay in the kitchen for the first batch.
Very thick tenders need a gentler setting. Cook them at 350°F for twelve to fifteen minutes, which gives the middle time to reach temperature before the crust darkens. Going the other way does not work. Cooking at 425°F for six to eight minutes is most likely to dry out or burn the tenders, so resist the urge to crank the dial when you are hungry.
Do not stack the basket. A single layer with a little space between pieces lets the hot air reach every surface, and the coating crisps on all sides. If your basket is small, cook in two rounds and hold the first batch warm. Shake the basket or flip with tongs at the halfway mark, and check the thickest piece with a thermometer before you pull the batch.
If you are building a packed lunch around them, these chicken salad recipes for lunch and potlucks use cooked chicken in a different form and are worth keeping in rotation.
A light spray of oil on the breaded strips before they go into the basket helps the crumbs brown evenly, since the hot air alone leaves dry patches of pale coating. One or two passes with spray oil is enough. Preheating the basket for a few minutes also helps, because the crust starts setting the moment the coating touches hot metal, while a cold basket lets the first side dry out before anything sets.
Leftover air fried tenders reheat better than fried ones. Two or three minutes back in the basket at 350°F brings the crust back to something close to fresh, while a microwave turns the coating rubbery. If you are cooking for a crowd and the basket is small, the 250°F oven trick works here too, holding finished rounds while the rest of the batch cycles through.
How to Tell When Chicken Tenders Are Done
Insert the probe into the thickest part of the thickest tender, avoiding the bone if there is one and avoiding the pan. Colour, juice clarity and firmness all mislead, especially with breaded pieces where you cannot see the meat. Judge doneness by temperature rather than appearance, since colour and juice clarity can mislead with thin strips.
The cooking time depends on the method. Breaded tenders air fried at 400°F take 7–10 minutes, flipped once halfway through. Very thick tenders need a gentler setting, 350°F for 12–15 minutes, so the middle reaches temperature before the crust darkens. A hotter 425°F setting for 6–8 minutes is the one most likely to dry out or burn the tenders, so check early with the thermometer rather than trusting the clock alone.
If you are cooking in batches, hold finished tenders on a baking sheet in a 250°F oven while later batches cook. Check the thickest piece of the newest batch before you pull it, because the first batch has already had its full time and the last one is the one that needs confirming.
Breading, Seasoning and Dipping Sauce
Three rules cover most of it.
Season the flour, the egg and the crumbs separately with a pinch of salt. If you only salt the outside, the coating tastes salty and the meat tastes flat. Black pepper, smoked paprika, garlic powder and onion powder all work in the flour.
For a gluten-free version, replace the flour with a rice flour blend and the breadcrumbs with crushed cornflakes or gluten-free Panko. Check the label on the bag if someone at the table is coeliac.
Dipping sauces are where you can be generous. Honey mustard, ranch, barbecue, buffalo and a simple mayo and hot sauce blend all suit tenders. Make the sauce while the first batch cooks so nothing sits and steams.
Toss the tenders in a large bowl right after they come out of the oven or fryer so the sauce coats while the crust is still hot and slightly porous. A dry seasoning blend is the other direction. Salt, smoked paprika, garlic powder, onion powder and a pinch of Cayenne tossed with the crumbs before breading gives you spiced tenders that need no sauce at all, which travels better in a lunchbox.
- Honey mustard: equal parts honey, Dijon and mayonnaise.
- Ranch: Buttermilk, mayonnaise, dill, chives and garlic powder.
Common Mistakes and When to Call It a Day
The most common failure is overcrowding. Whether you bake, fry or air fry, tenders need space, and a crowded pan steams the coating. Cook in batches and keep finished pieces warm in a low oven.
Breaded chicken can look done before the centre is fully cooked, and by the time the crust is dark brown the meat may be dry. Buy a thermometer and use it every time.
Cold oil soaks into the breading and produces a greasy, pale crust that never recovers. Heat the oil properly, fry in small batches, and let the oil come back up to temperature between rounds.
Pat the tenders dry with paper towels before the flour goes on. A wet surface makes the coating slip off in the pan.
There is no professional to call for chicken tenders, but there is a moment to stop. If the oil smokes heavily, if the pot threatens to boil over, or if you are frying on a burner you cannot watch, turn it off. For a lighter menu overall, these chicken healthy recipes for weight loss show how lean poultry fits into everyday cooking.
Soggy bottoms are the second most common complaint, and the cause is almost always trapped steam. A tender resting flat on a solid pan or a plate steams the underside while the top stays crisp. The fix is airflow underneath, whether that is a wire rack in the oven, a rack over paper towels after frying, or simply spreading the finished batch out in one layer on a large platter. Piled tenders steam each other, and no amount of crisp coating survives ten minutes under a heap of its neighbours.
Underseasoning is quieter but just as common. Salt belongs in the flour, the egg and the crumbs, and a final pinch of flaky salt over the hot batch right before serving lifts the whole plate. Taste a crumb of the breading mixture before it touches raw chicken; if it tastes flat dry, the finished crust will taste flat too.
- Safe internal temperature: 165°F on a digital thermometer, checked in the thickest tender.
- Air fried: 400°F for seven to ten minutes in a single layer.
- Pat the tenders dry and season the flour, egg and crumbs separately.
Chicken Tenders FAQ
What temperature should chicken tenders reach to be safe?
Chicken tenders are safe at an internal temperature of 165°F on a digital thermometer, the figure the USDA sets for all poultry. Check the thickest part of the thickest tender and avoid touching the pan with the probe.
How long do breaded chicken tenders take in an air fryer?
Breaded chicken tenders take 7–10 minutes in the air fryer. Set it to 400°F and flip once halfway through. Very thick tenders do better at 350°F for twelve to fifteen minutes. A 425°F setting for six to eight minutes is the one most likely to dry out or burn the coating.
Can I keep cooked tenders warm while the next batch cooks?
Yes. Cooked tenders can be kept warm in a 250°F oven while later batches cook. Place them on a baking sheet in a single layer so they stay crisp. Do not cover the tray tightly, because trapped steam softens the crust.


No Comments